Have a detailed look into the process to manage your bills easily if you need to review, credit or cancel them.
General practices
In accounting, it is normally impossible to delete booked figures and vouchers. Therefore, once you have approved an invoice, you cannot delete it.
This would result in gaps in voucher numbers and other inappropriate behavior. In other words, the table catches when you post. So, you can't reuse a voucher number, for example.
However, the good news it that you still have the option to change an error in an bill or cancel the bill.
There are three ways to do this and here we show you how to make these changes to your bill:
- Cancelling the bill
- Editing the bill
- Crediting the bill
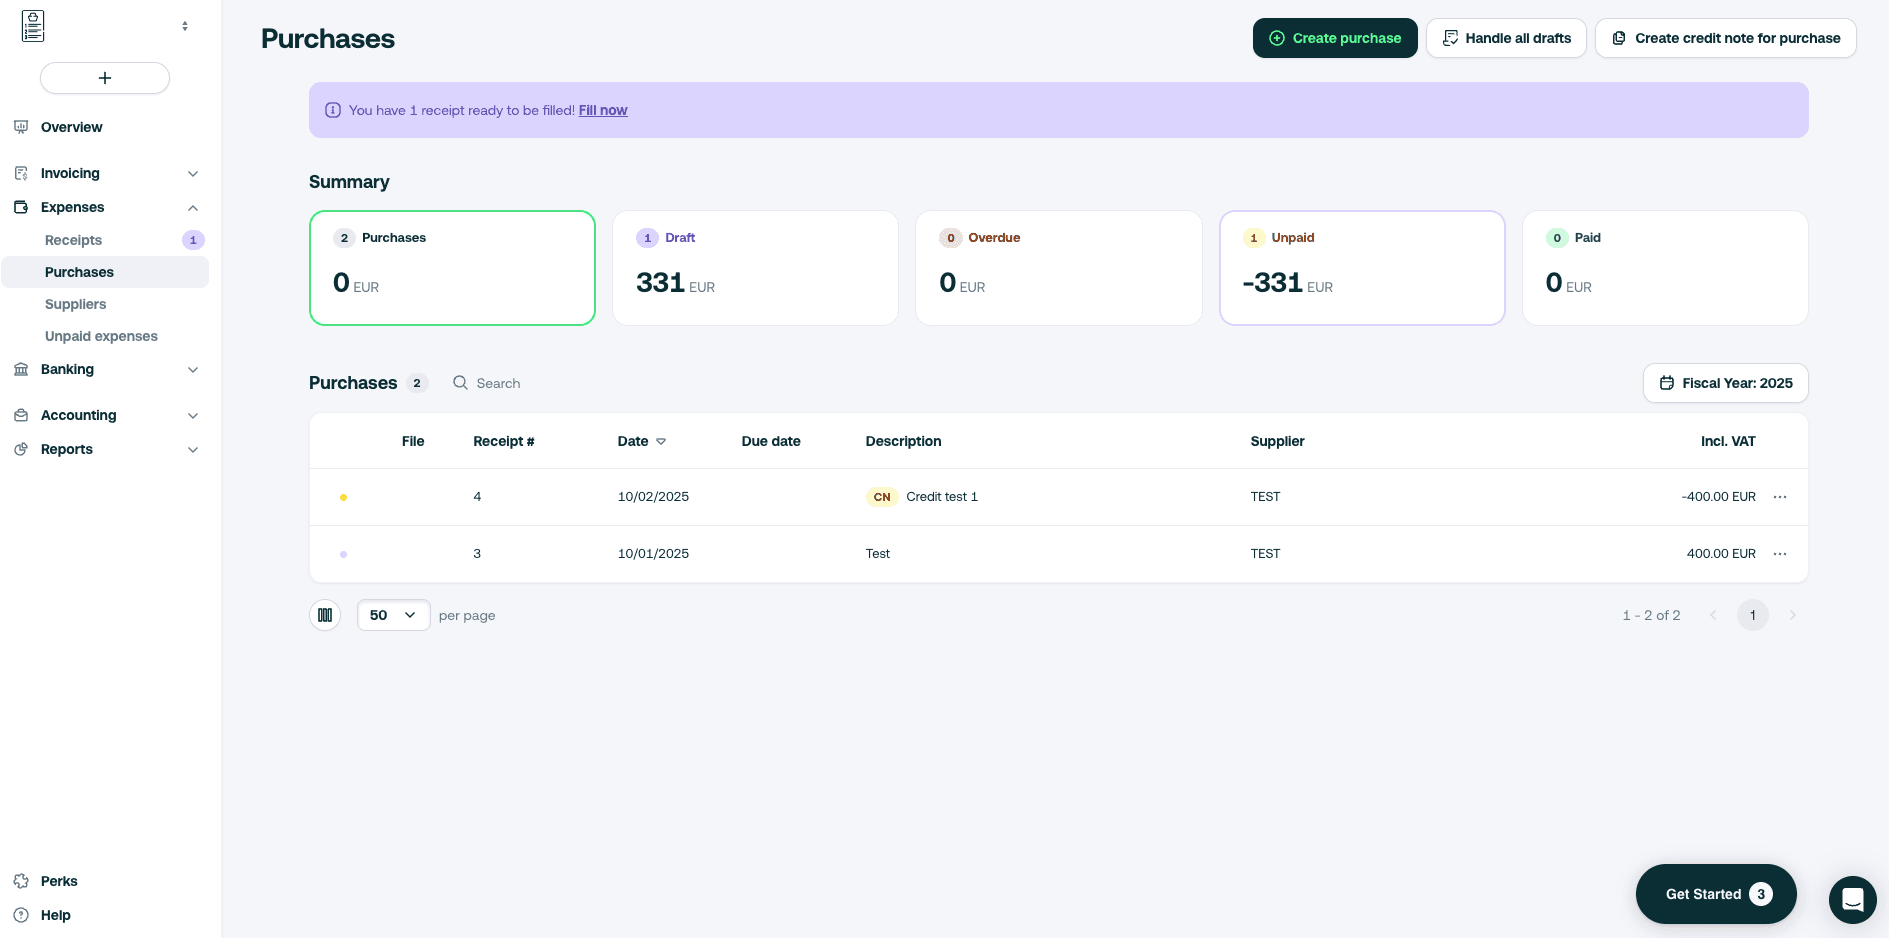
Cancel a bill
Cancelling a bill is a matter of quick steps as you can see below:
- Go to the Expenses tab > Purchases
- Select the bill you want to cancel
- On the next screen, click on Delete (top right corner)
- A warning message will appear. Click on Delete
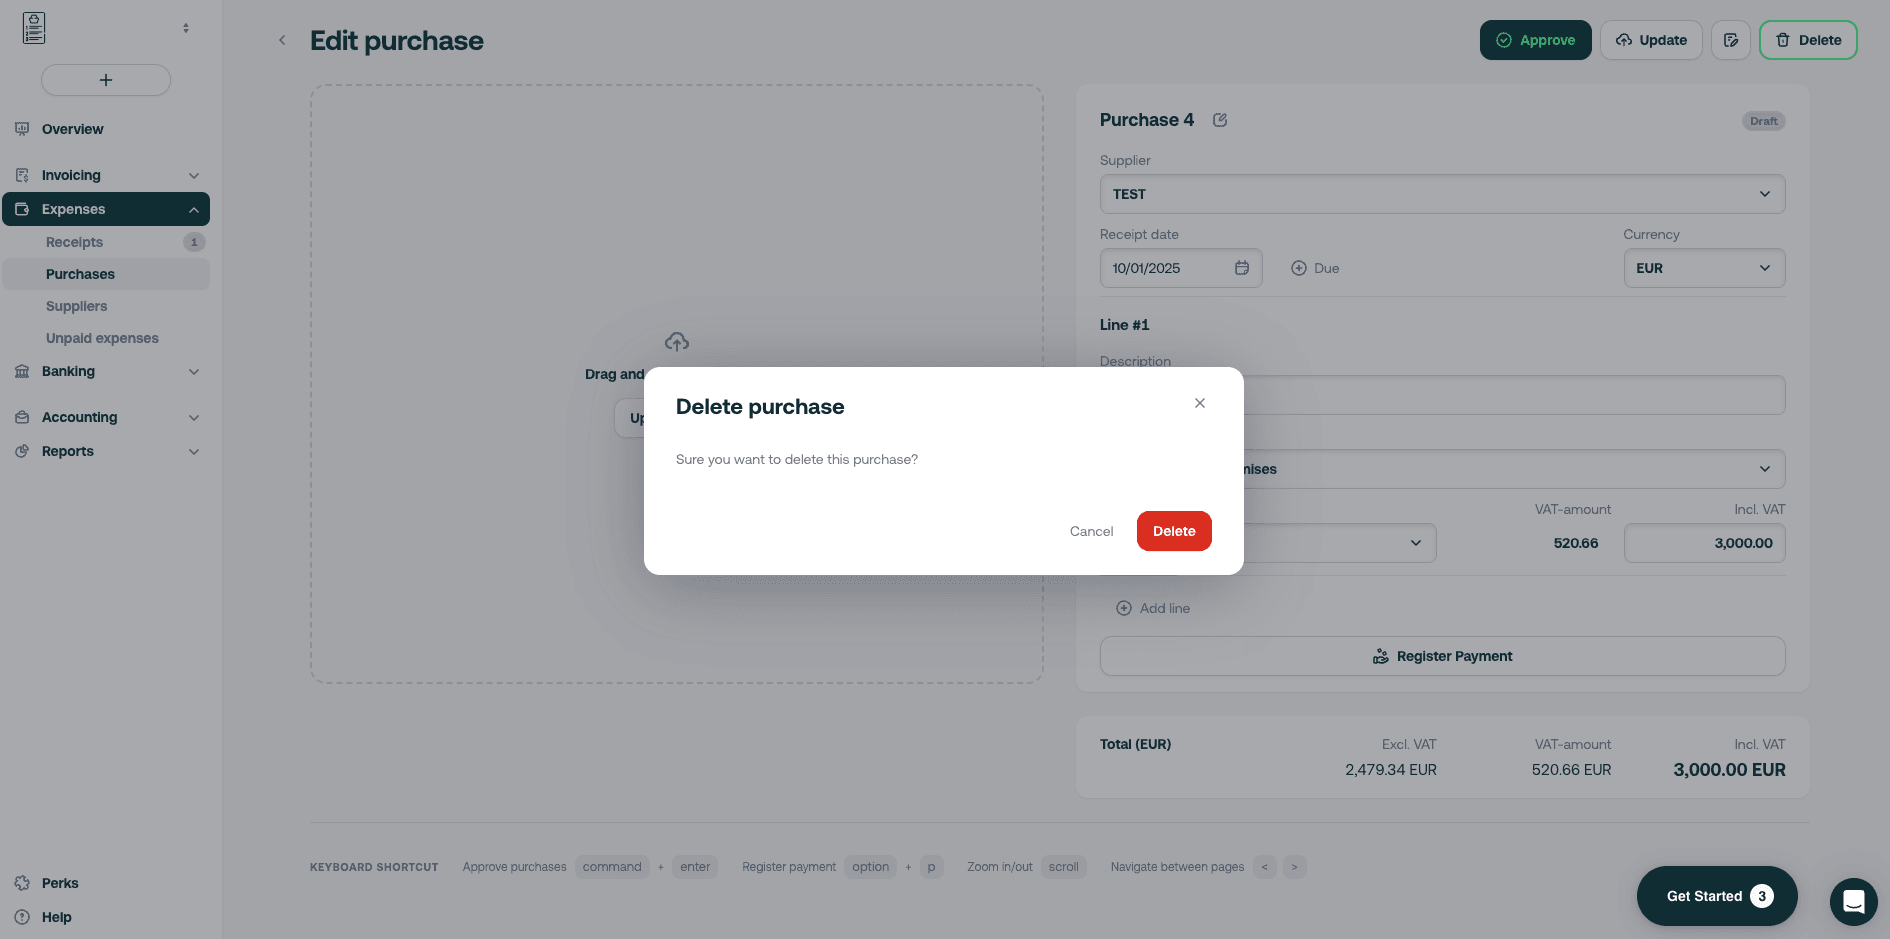
- Your bill will disappear from your bills list
This will automatically create a cancellation voucher to offset the original voucher and the bill will be set to Cancelled status.
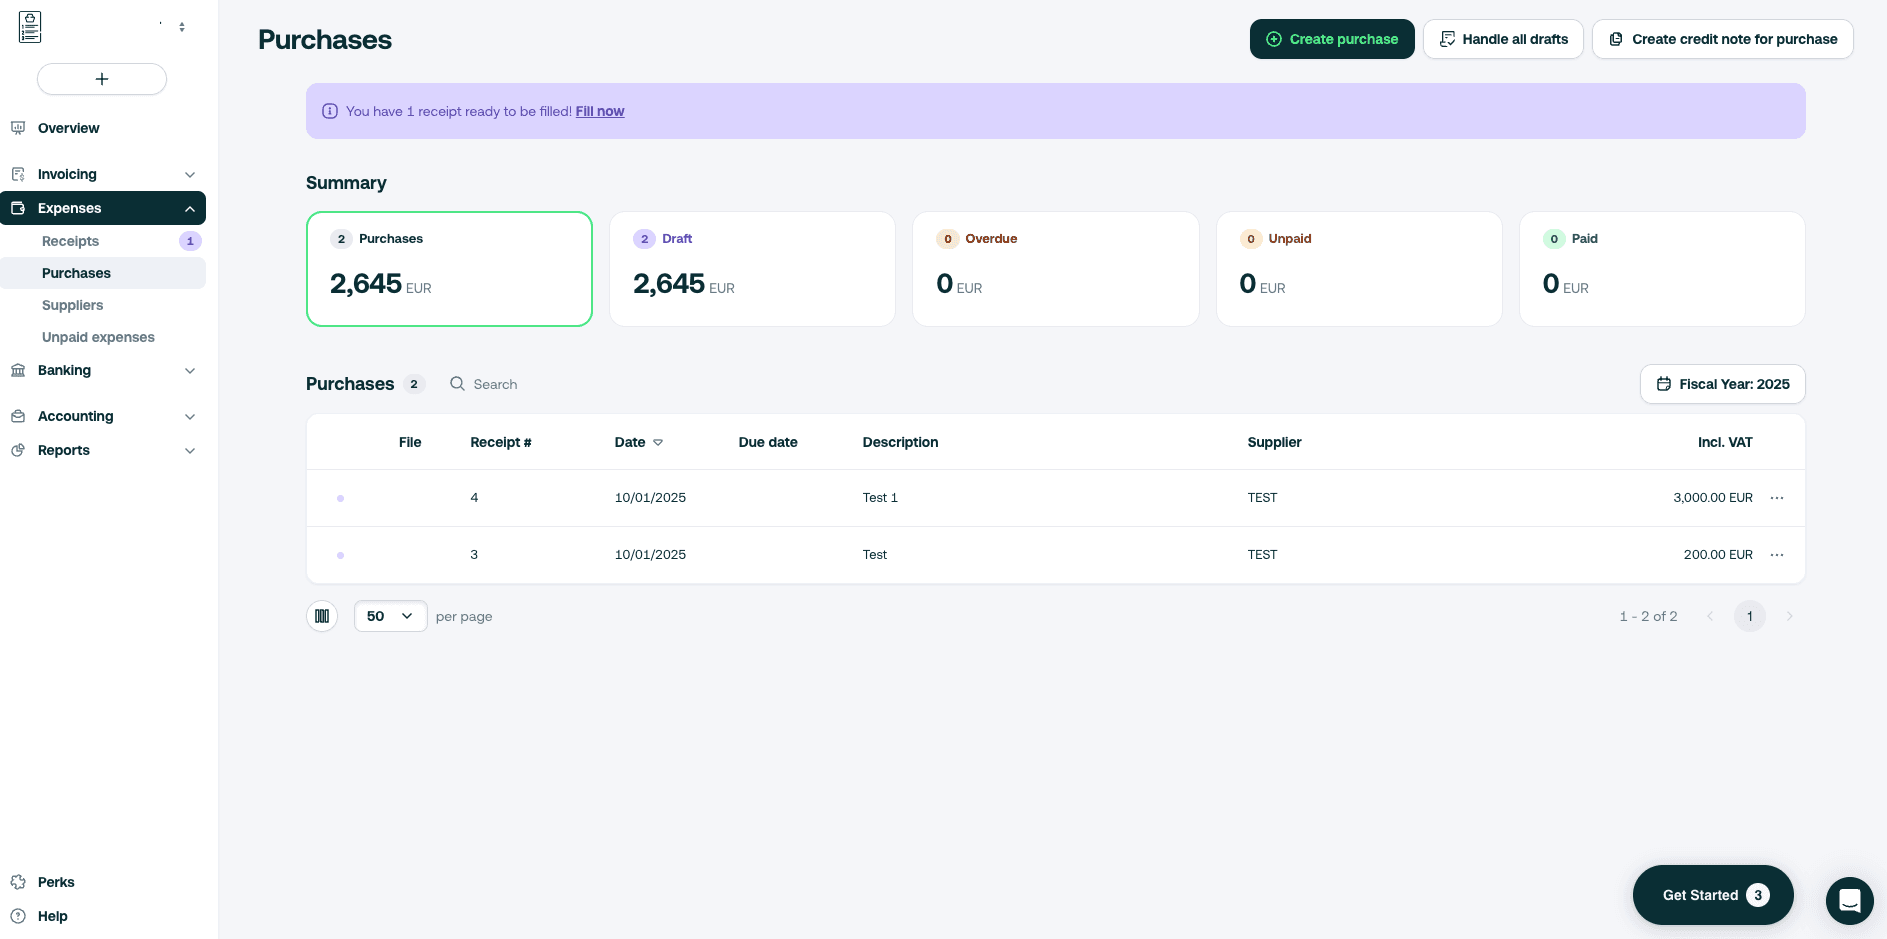
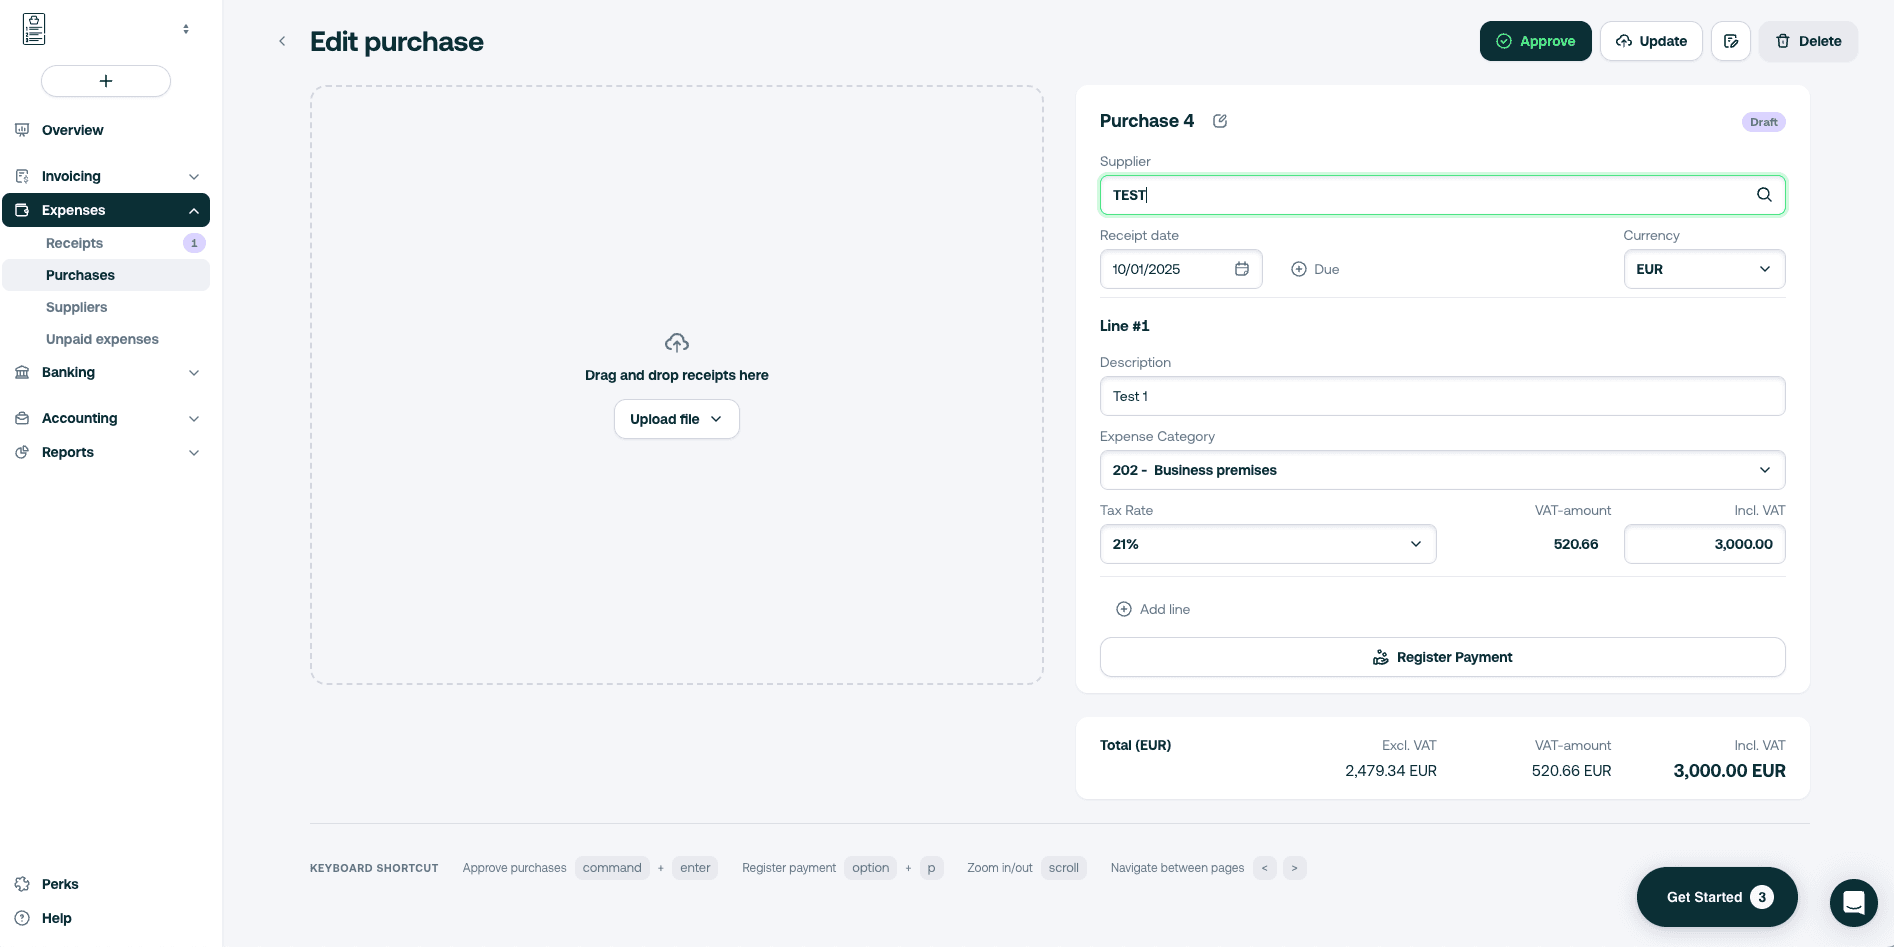
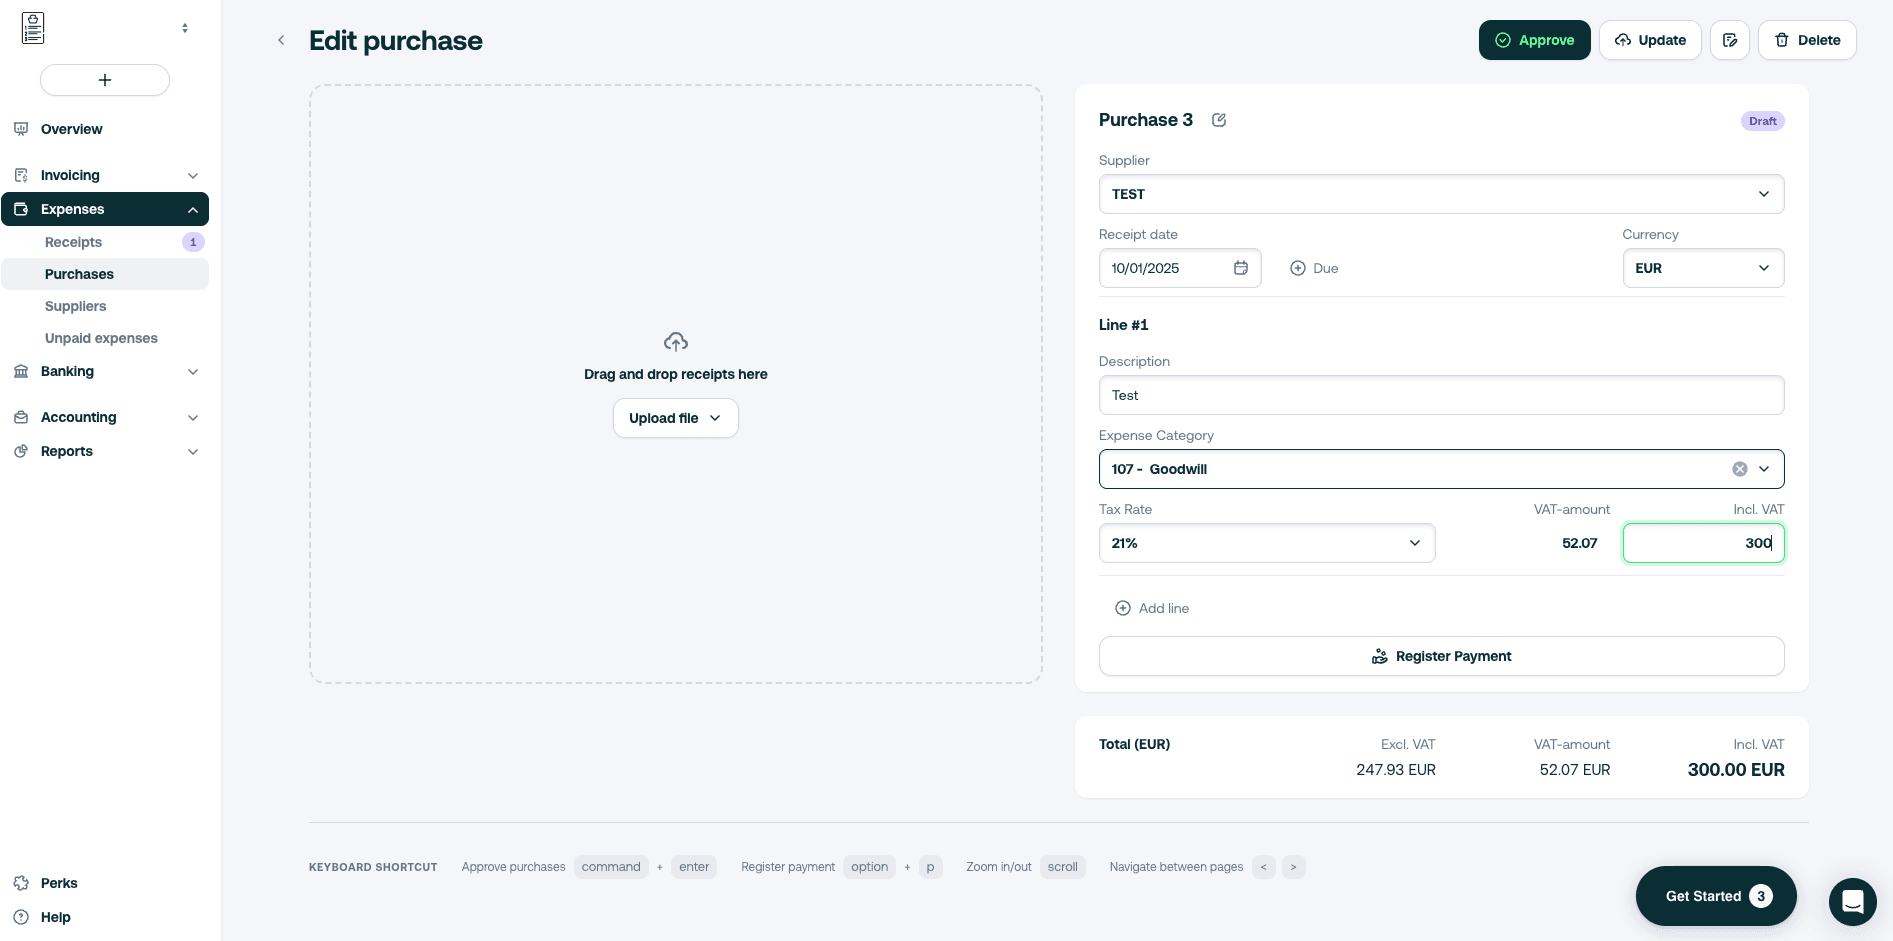
Edit a bill
- Go to Expenses > Purchases
- Go to your bill in the list to find the one you want to edit
- Fill in the details. Here you can choose to correct the following information:
- Vendor
- Bille date
- Currency
- Description
- Expense category
- Tax rate
- Total amount (VAT included)
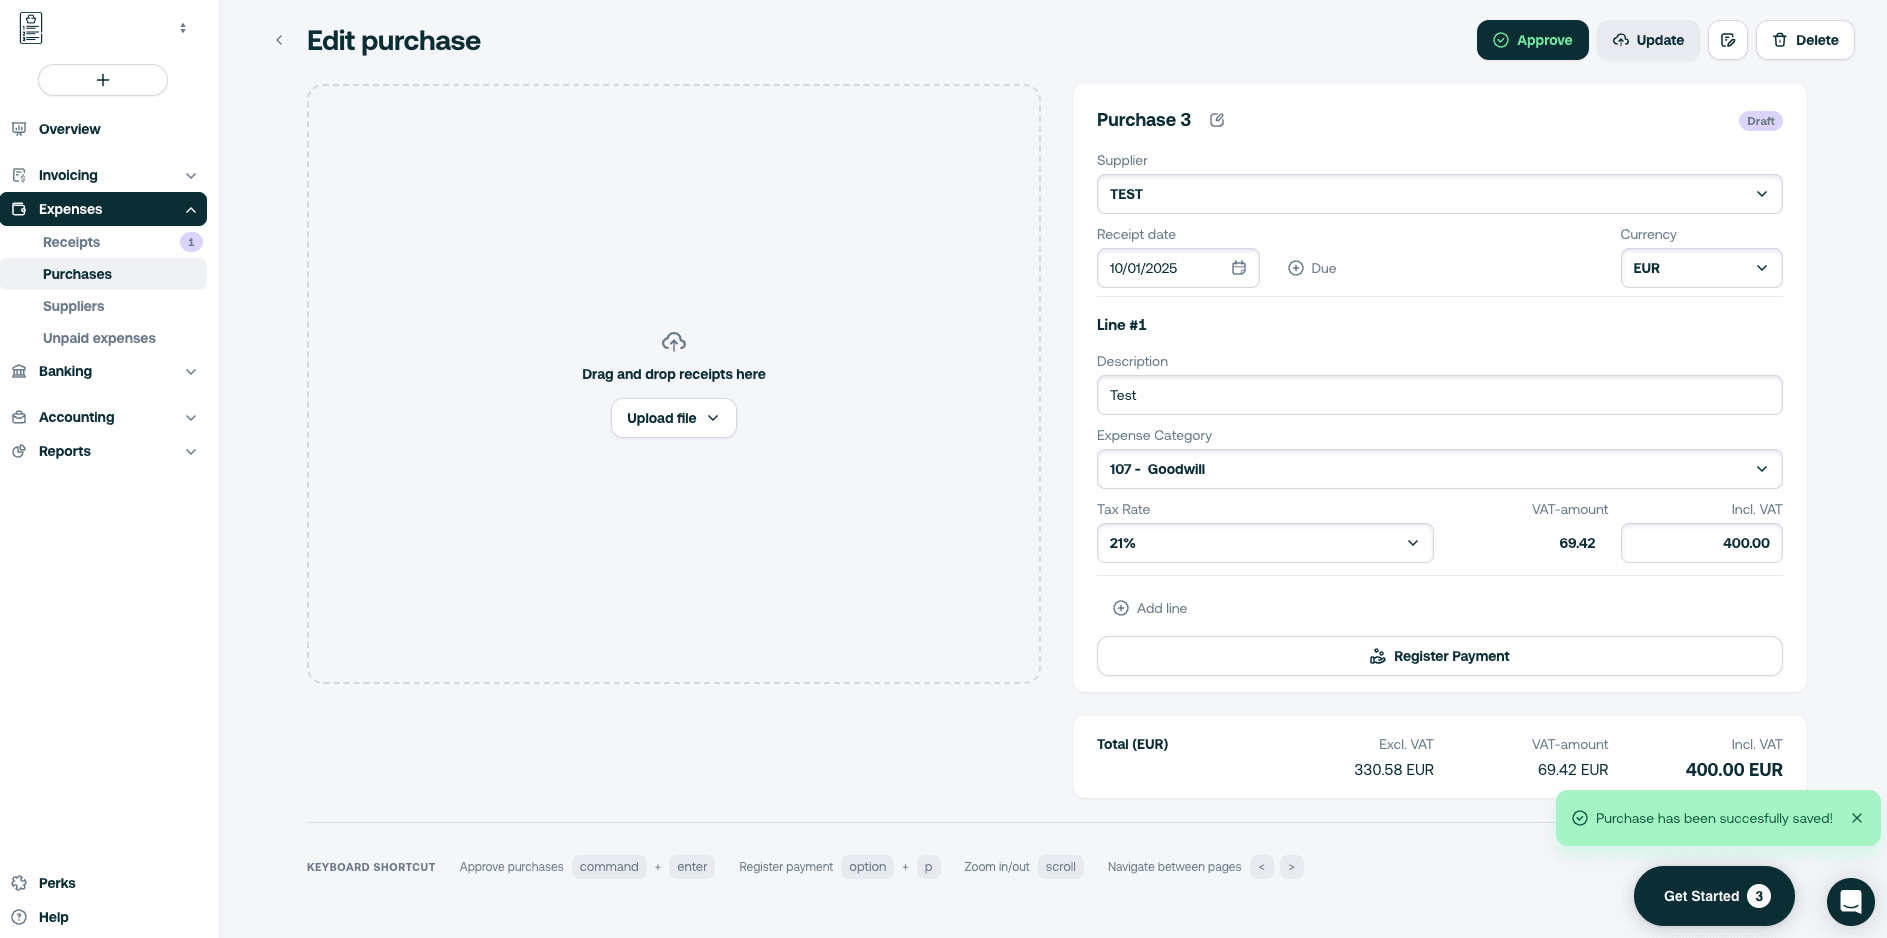
- Click on Update (if it is not finalized yet) or Approve if you are all set
- A confirmation on the bottom right corner will appear in green
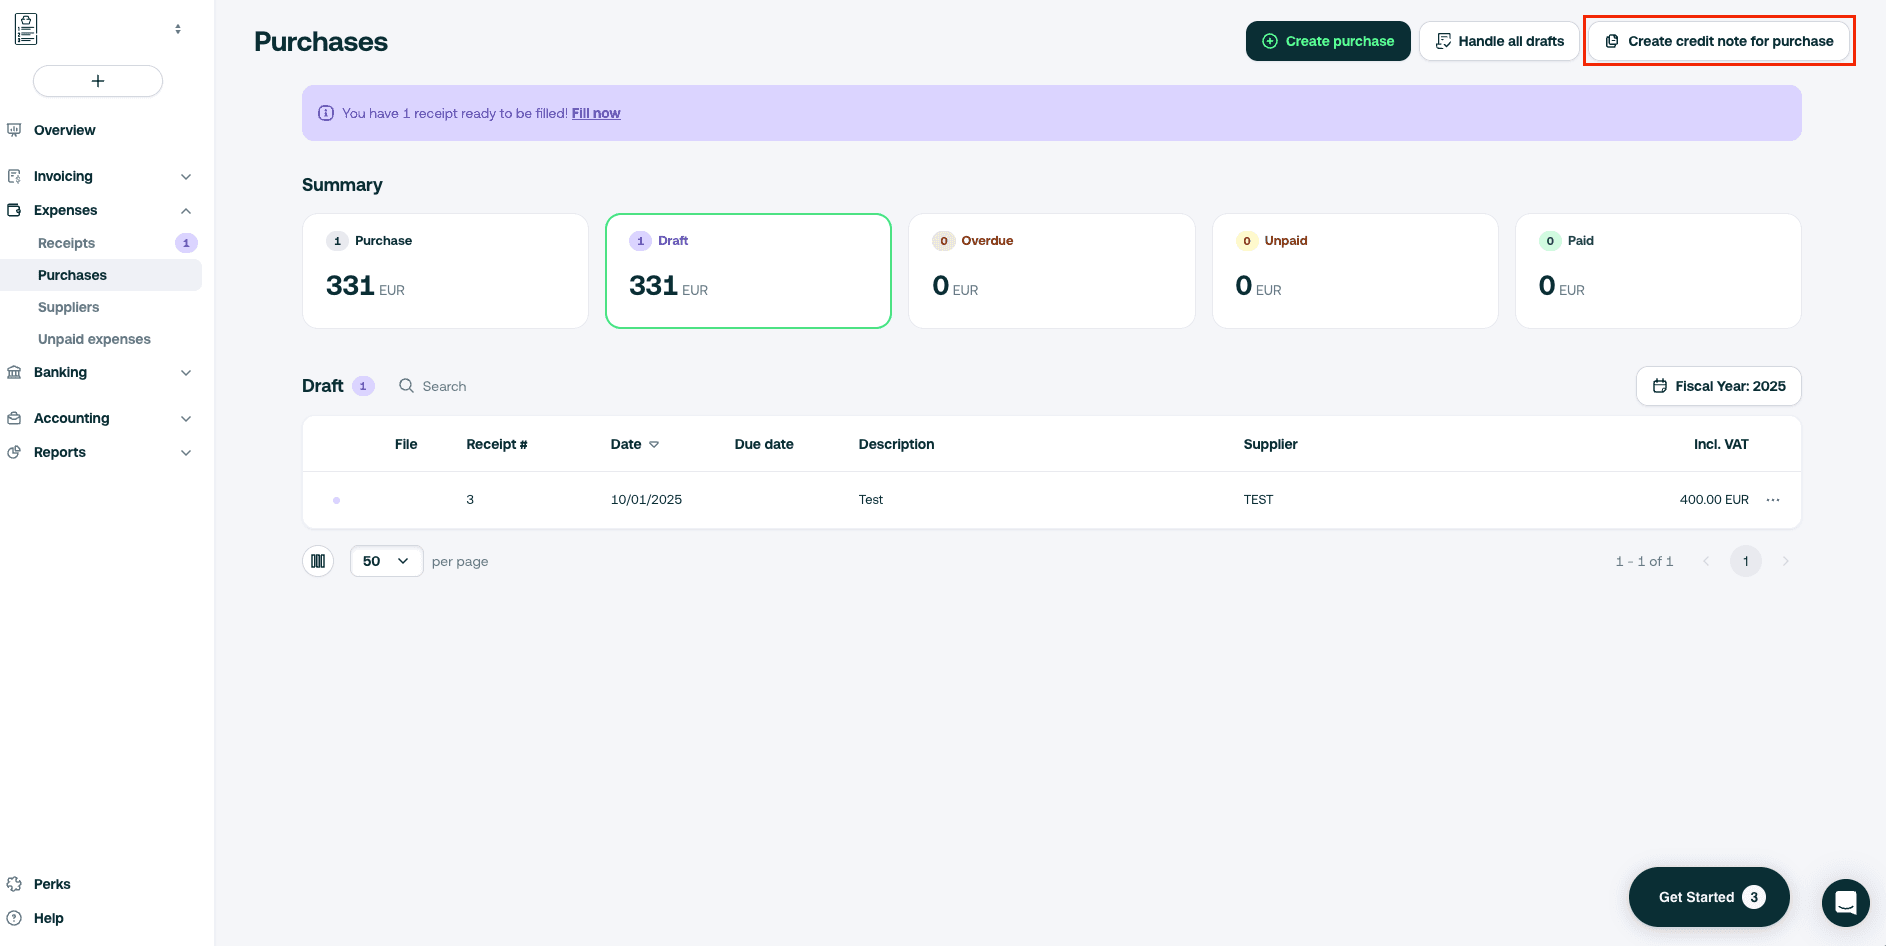
Credit a bill
You can generate a credit note for a bill in a few clicks.
- Go to the Expenses tab > Purchases
- Go to Create credit note for purchase
- Fill all the elements of the credit note and click on Approve
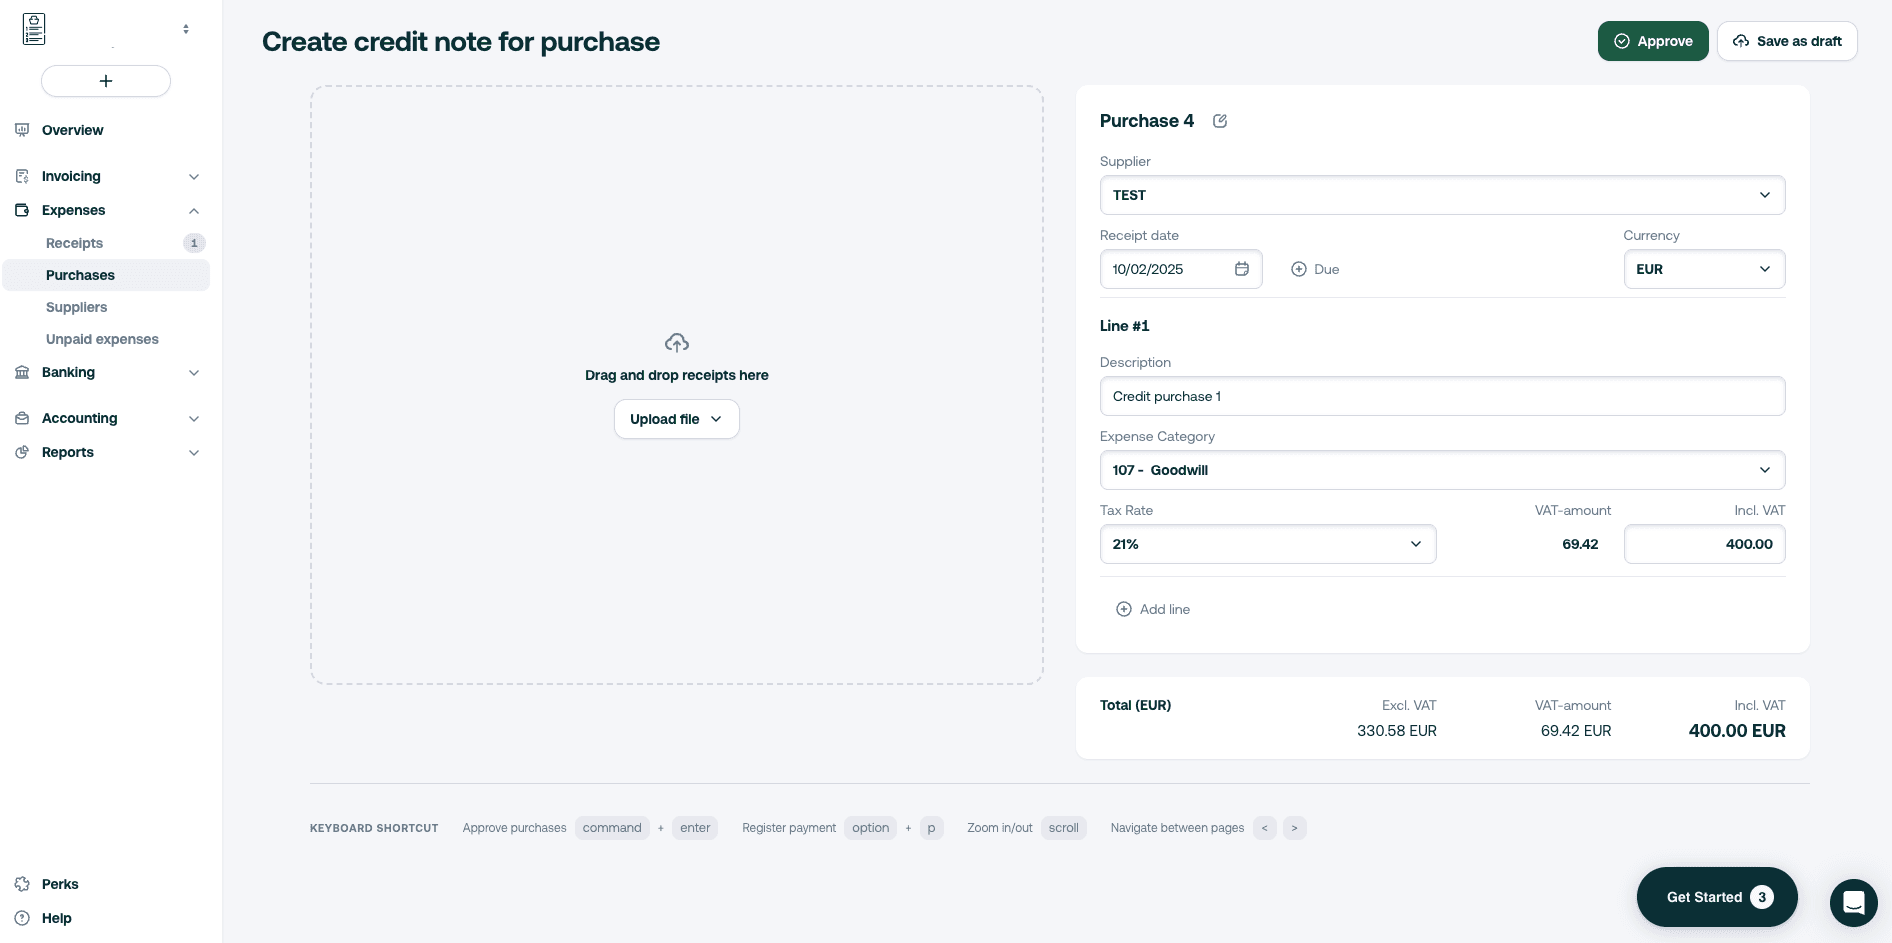
- A confirmation in green will appear at the bottom right corner
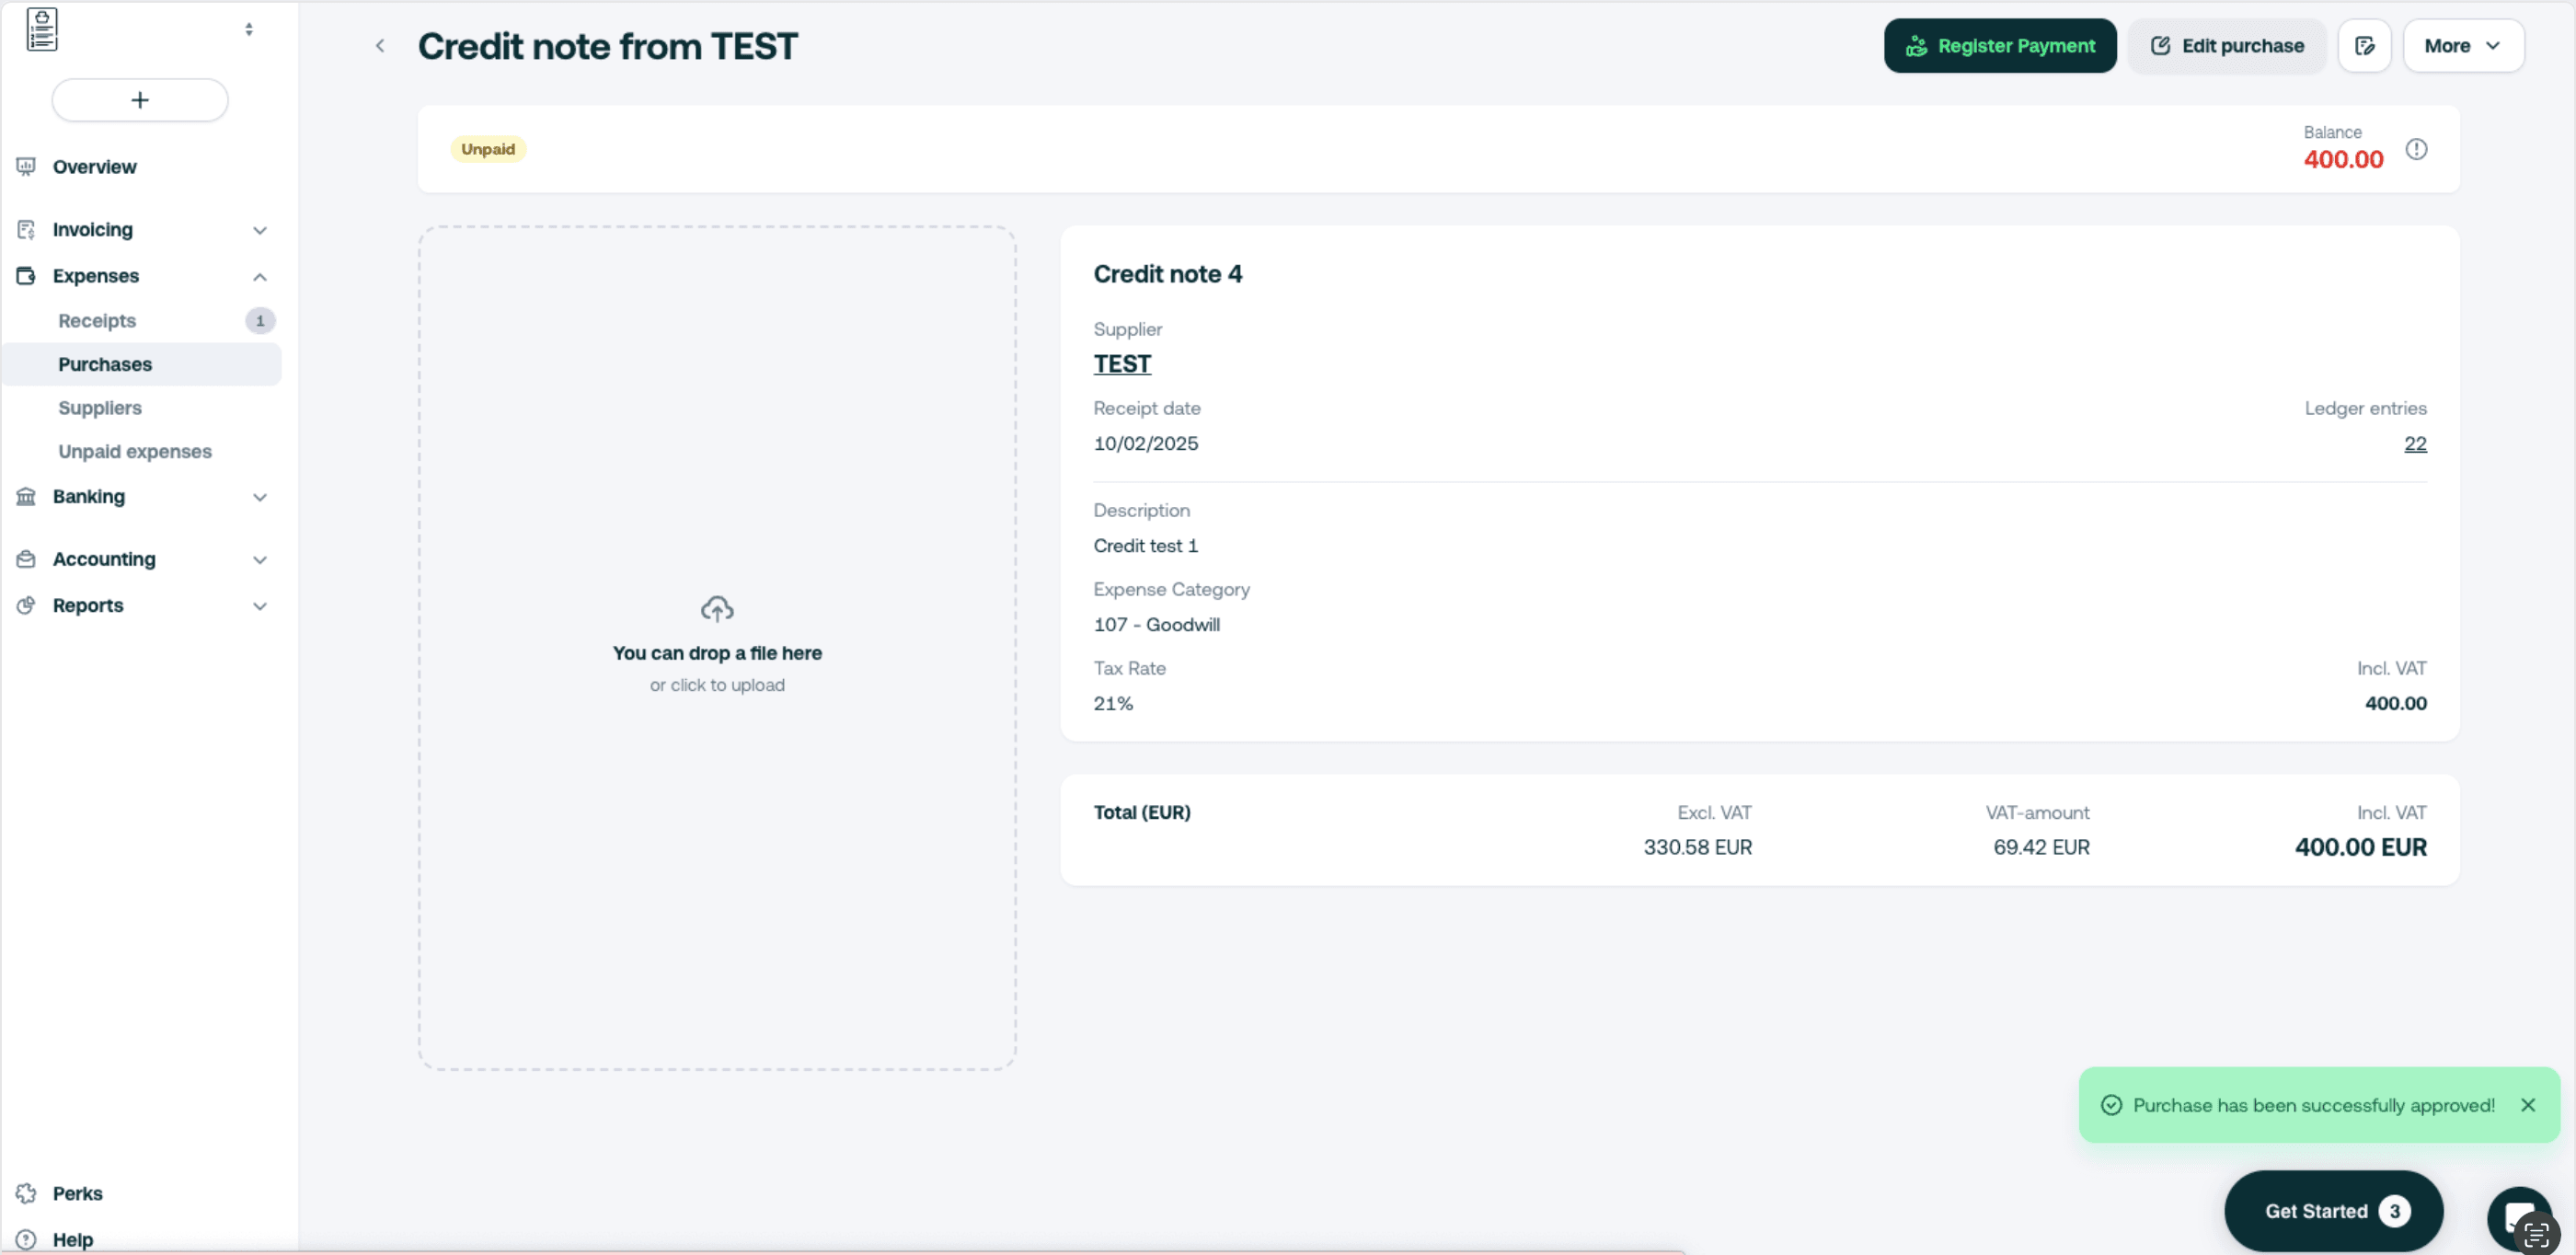
- The credit note is now visible in the list of purchases but also in the category Unpaid (in yellow)