This guide will go through the different options for uploading your vouchers to Shine, so you can quickly and easily do your bookkeeping based on the voucher.
General Practices
In Shine, all your uploaded vouchers are collected in Shine’s voucher folder and when you fill out a voucher, the invoice module will scan it and automatically enter the amount, supplier and the invoice date.
Afterwards, all you need to do is select the expense category and VAT rate. To do this, you can use the bookkeeping hero, which will suggest which expense account to choose and which VAT rate to include on your invoice.
Upload attachments from your computer
1. To create your invoice directly
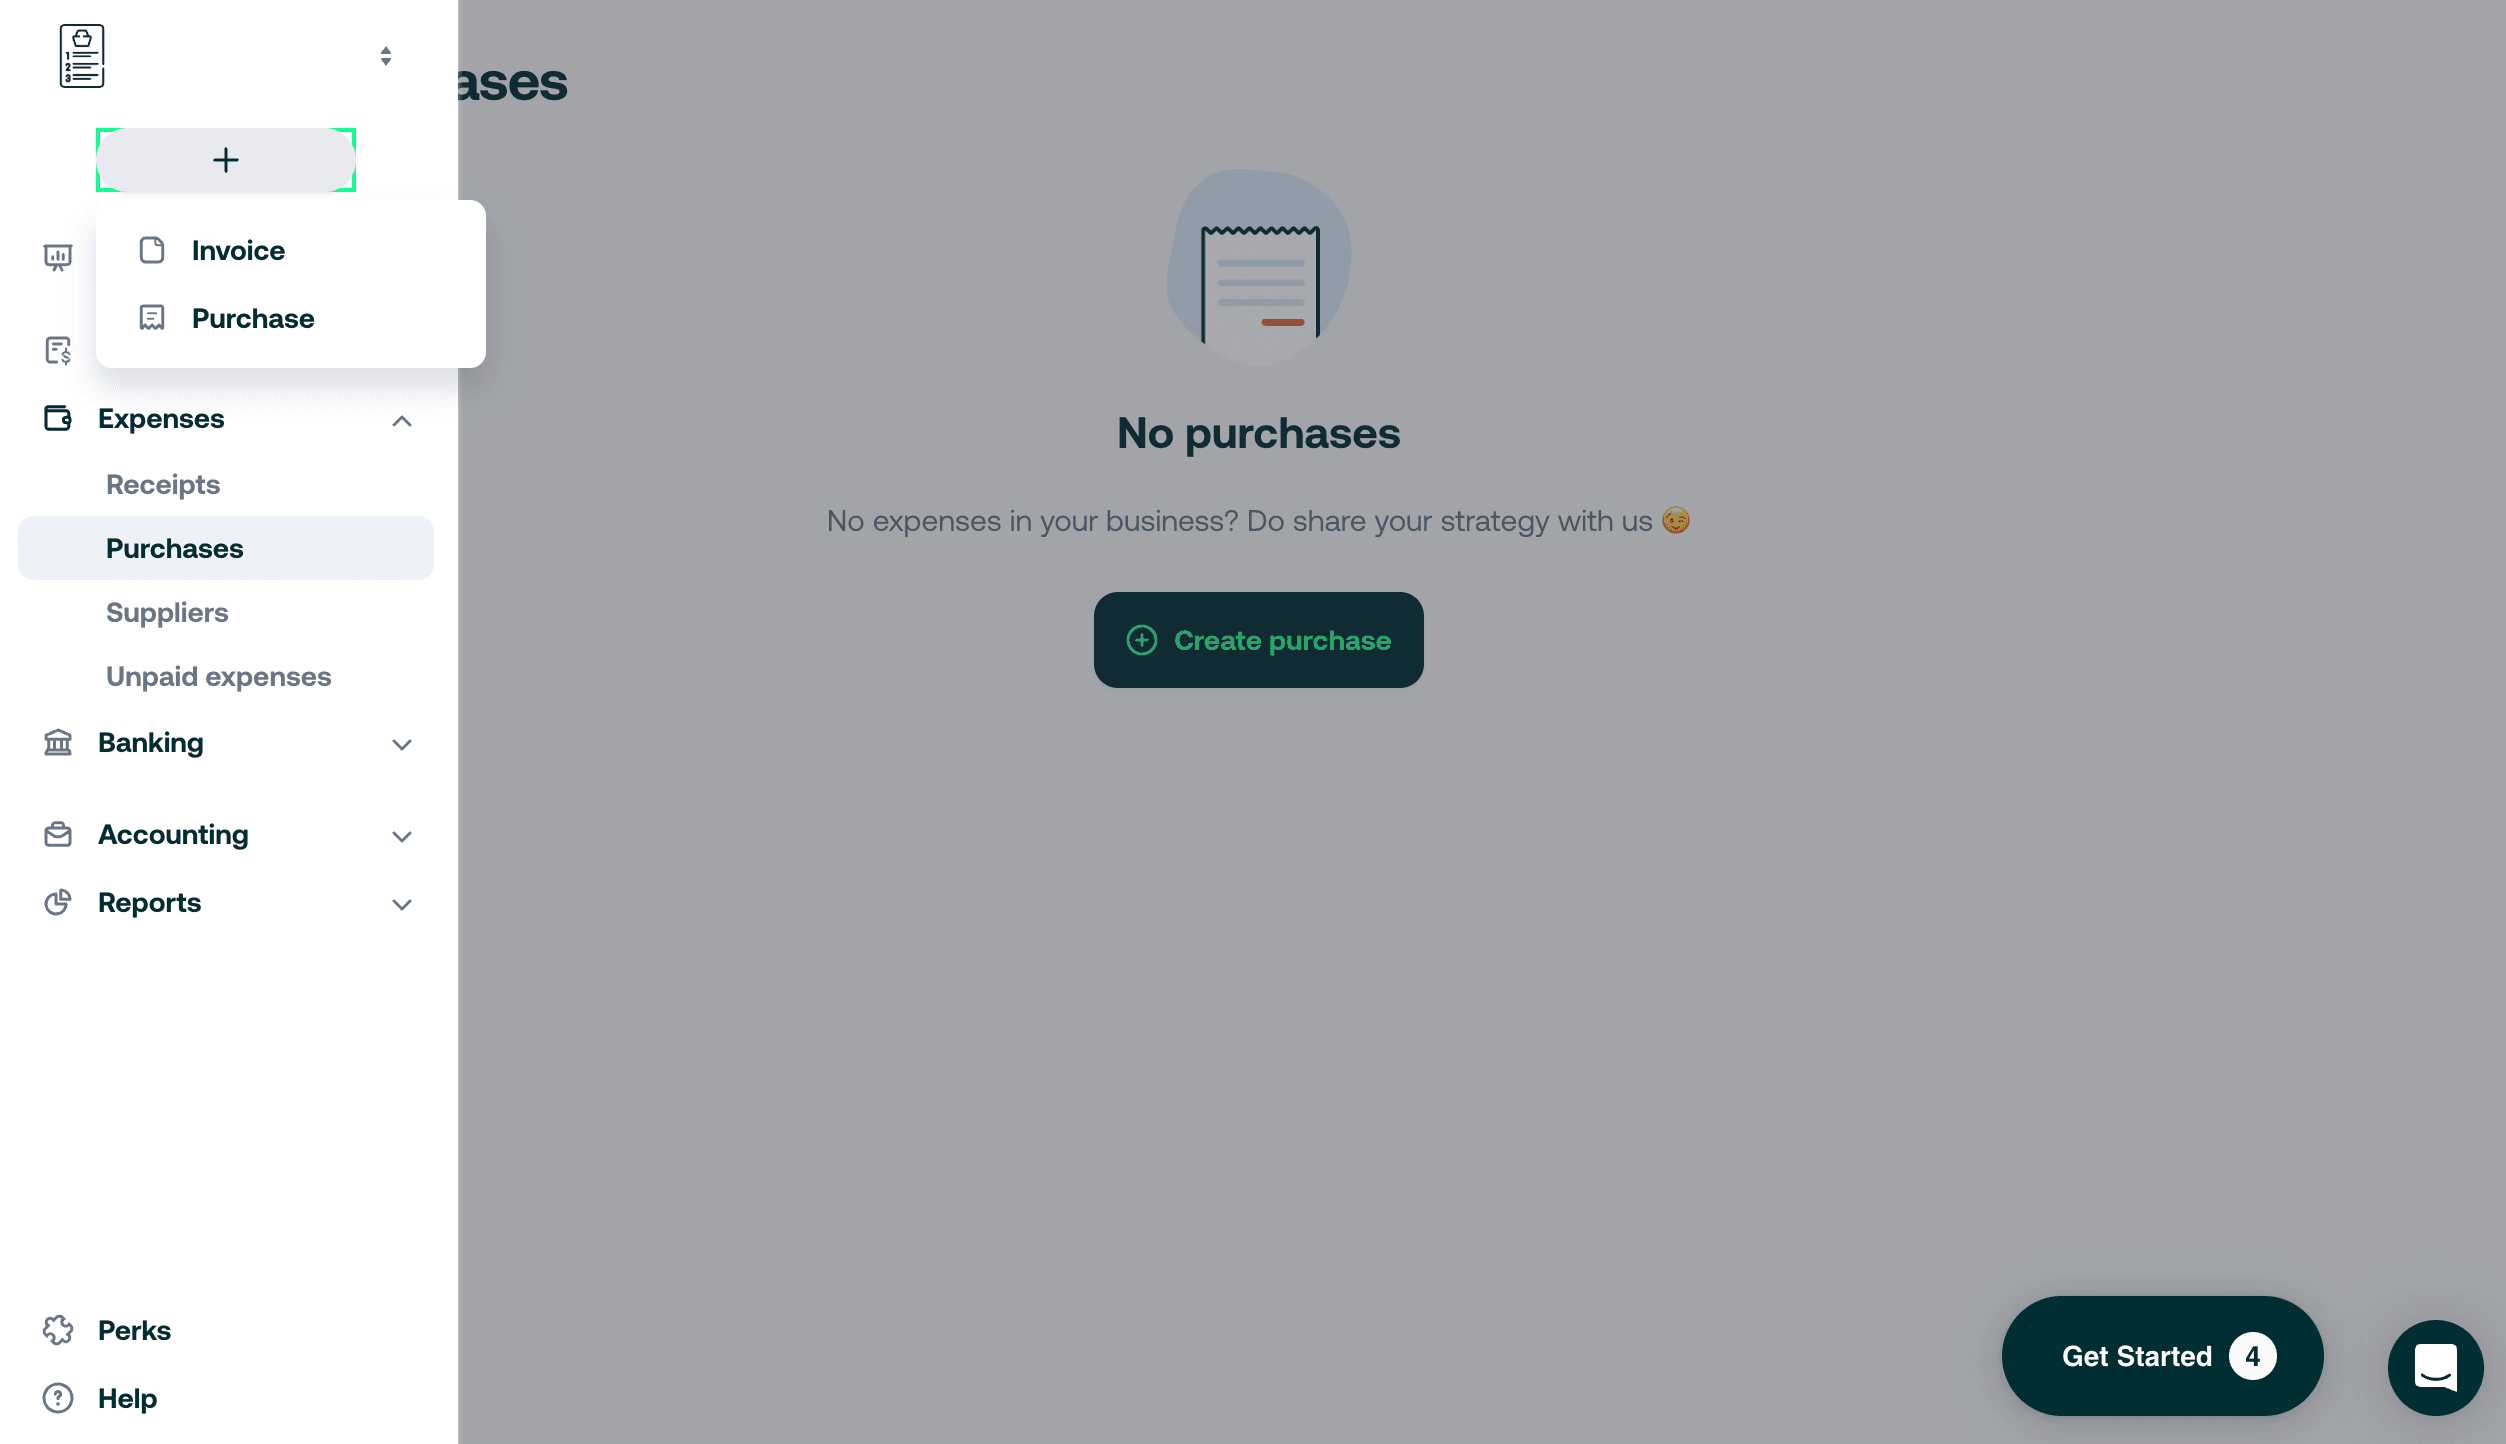
- At the menu level on + > Purchase or go to Expenses > Purchases
- Click on + Create purchase
- Select Upload file > From my device
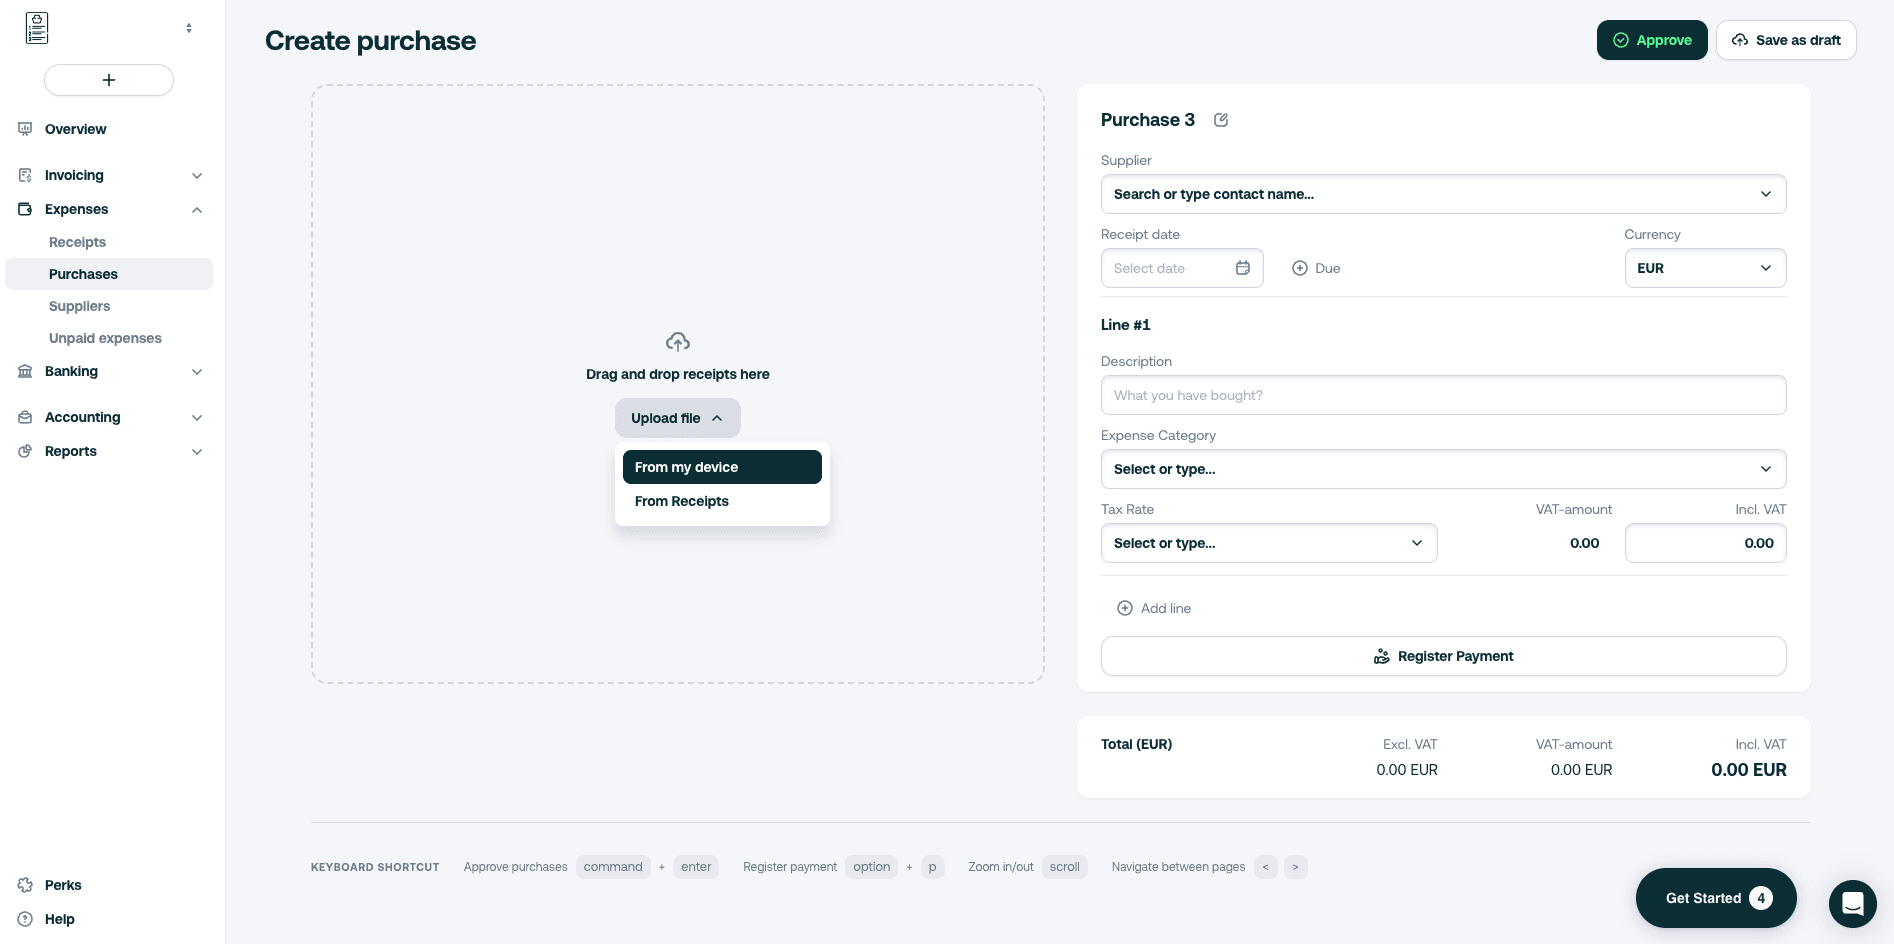
- Select the attachments you want to upload
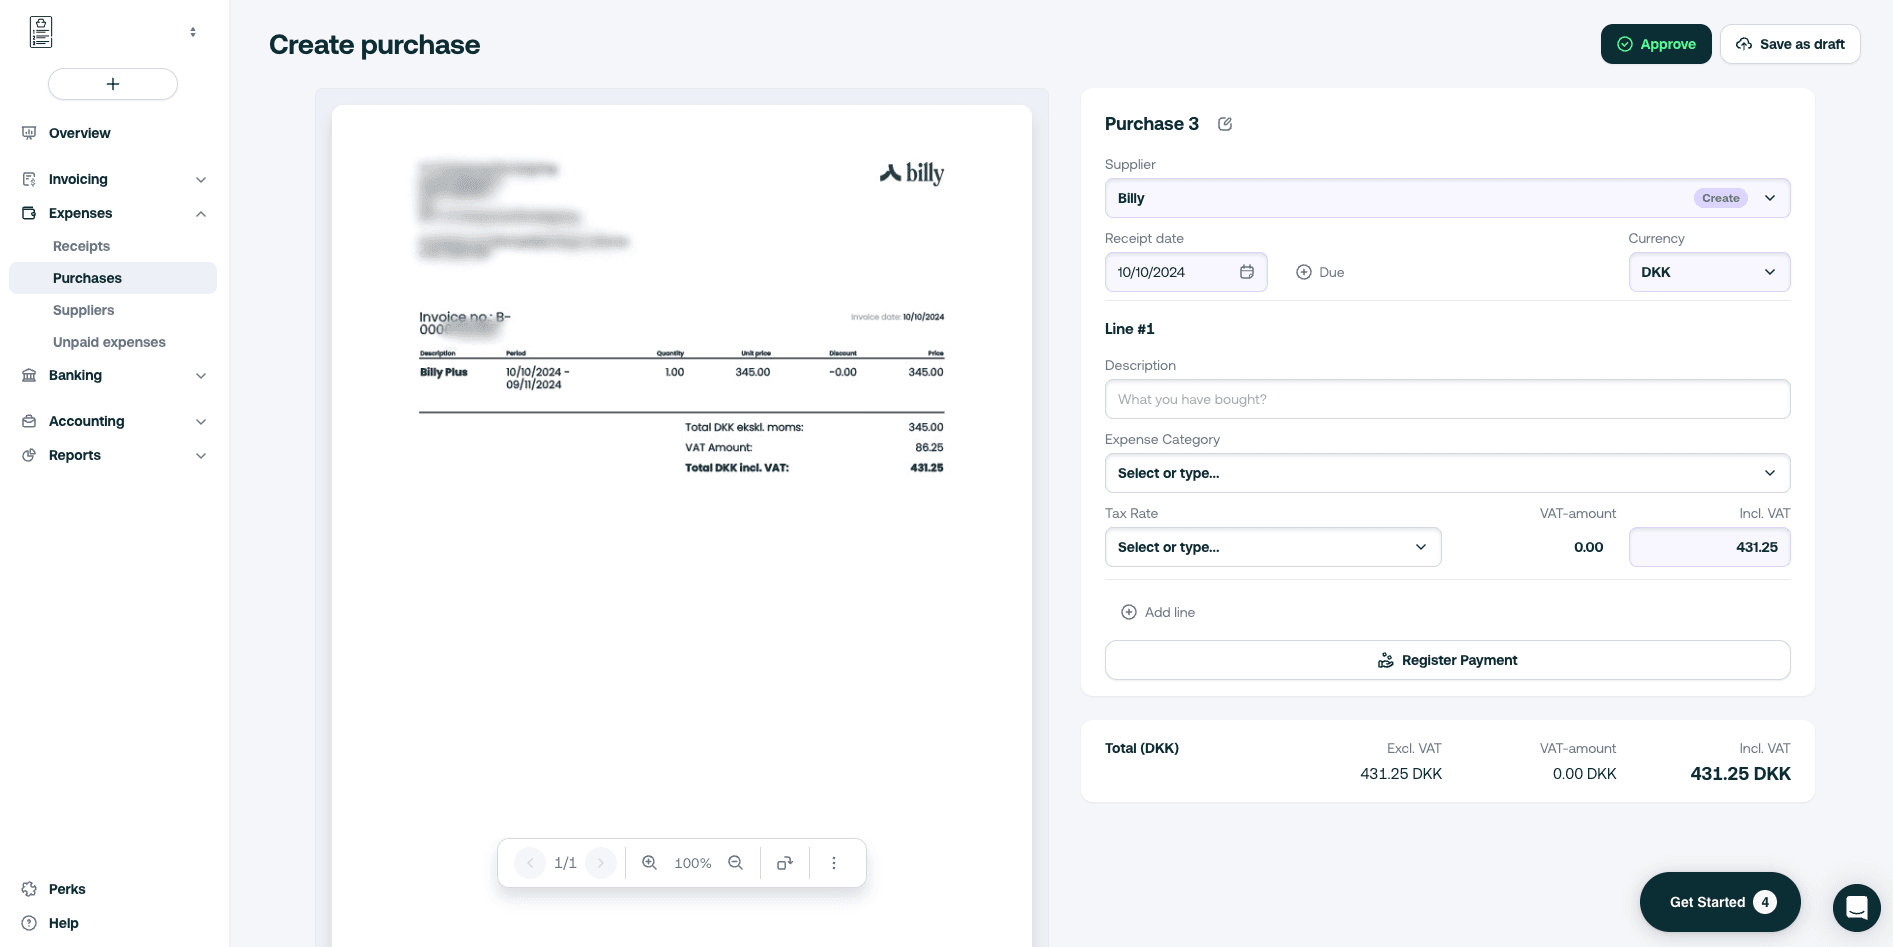
- Your uploaded attachment is now visible and some fields have been completed automatically
- Double check your fields and fill in manually any missing information
2. Using a registered uploaded file
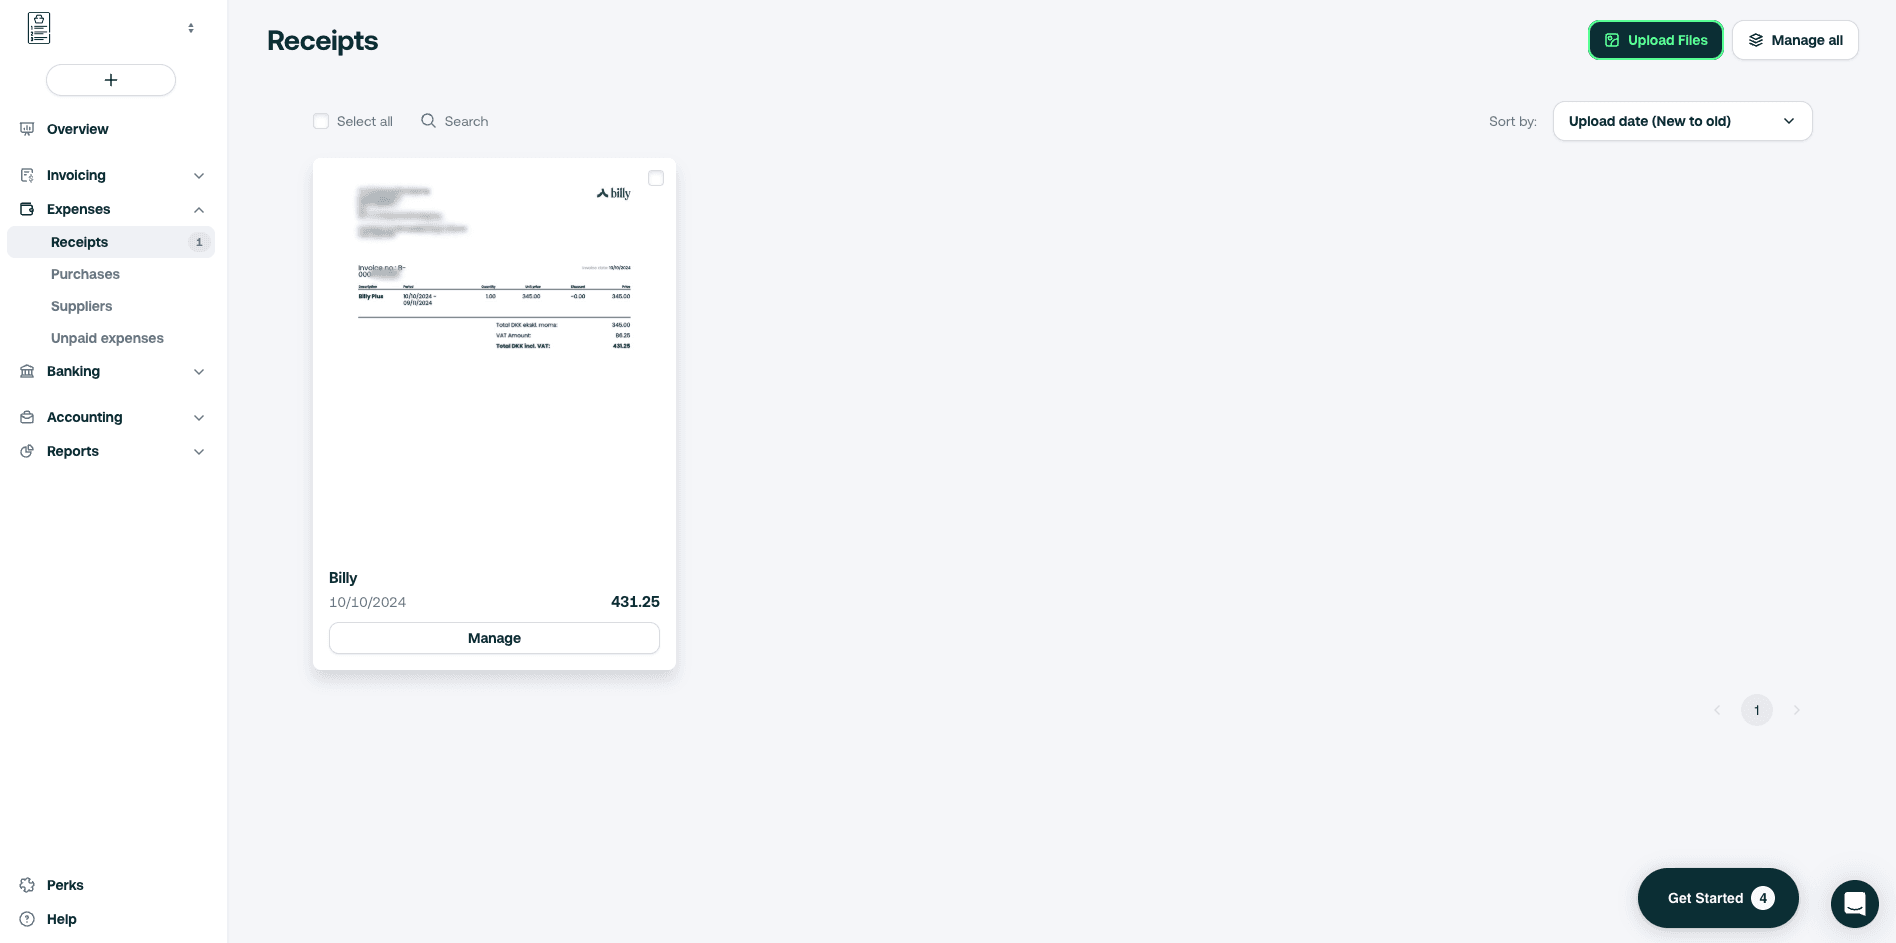
Step 1 : Upload your file in the dedicated tab
- Go to Expenses tab > Receipts
- Click on Upload files
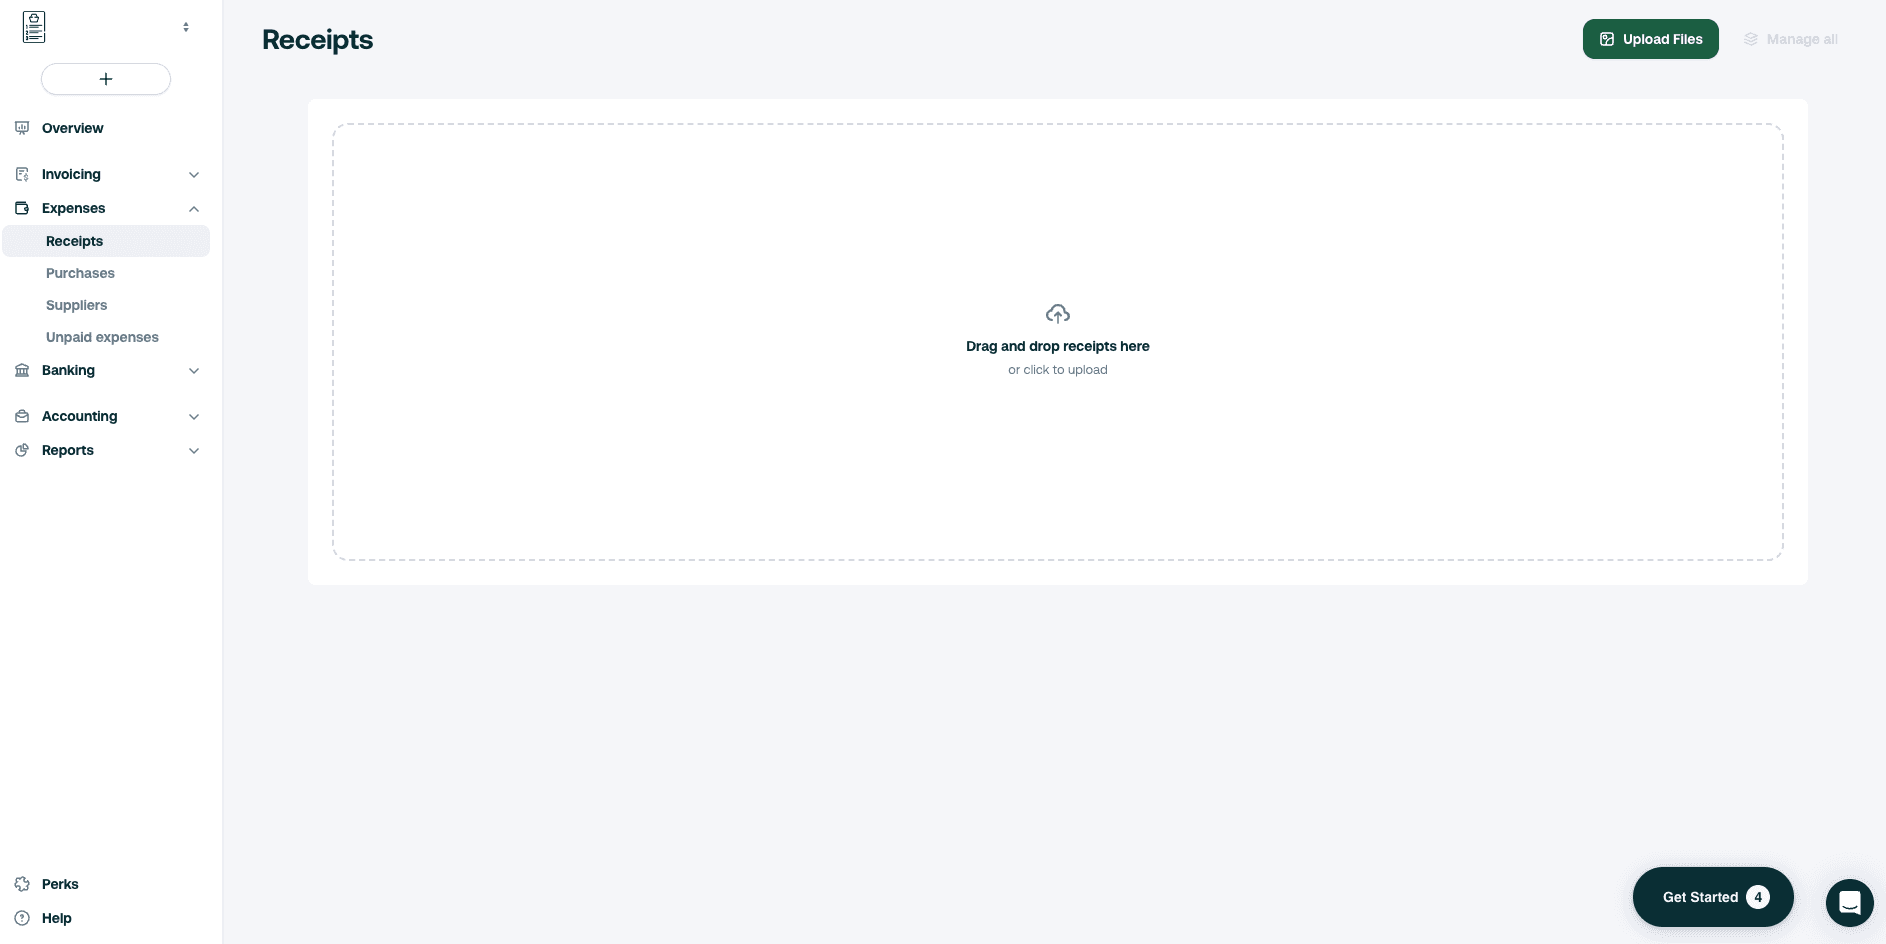
- Your file is now uploaded and registered in your account
Step 2 : create your bill with your uploaded file
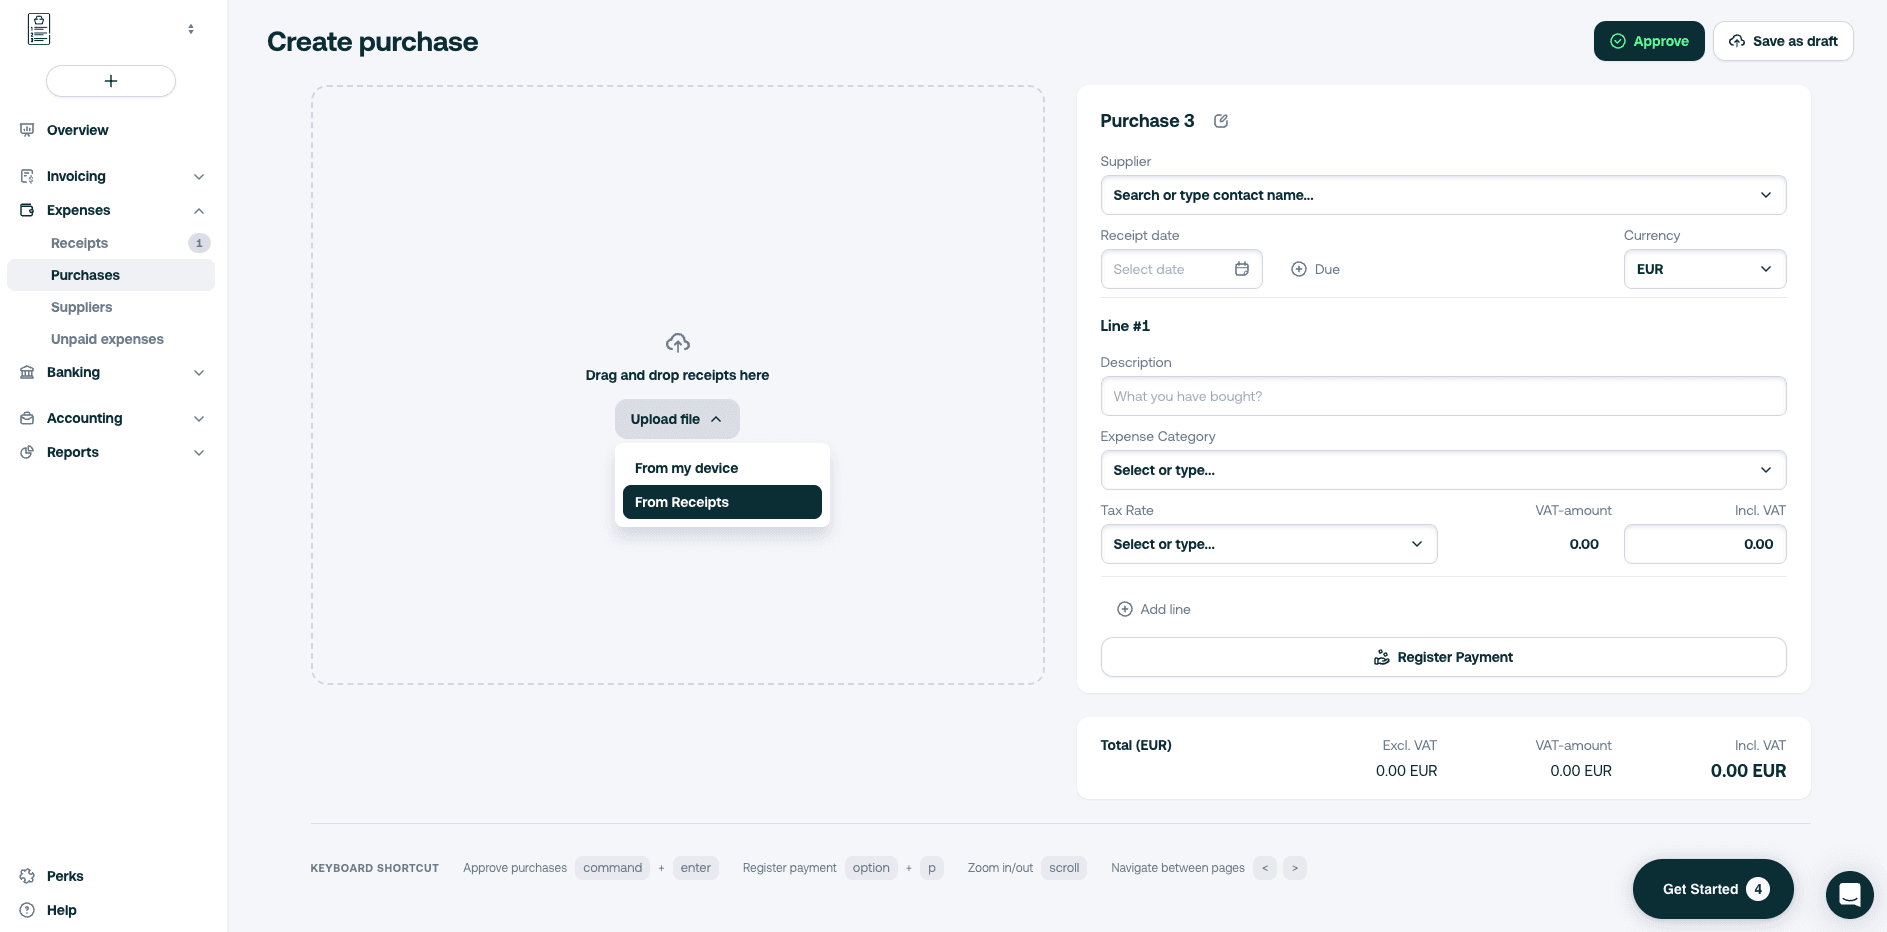
- At the menu level on + > Purchase or go to Expenses > Purchases
- Click on + Create purchase
- Select Upload file > From receipts
- Select your file
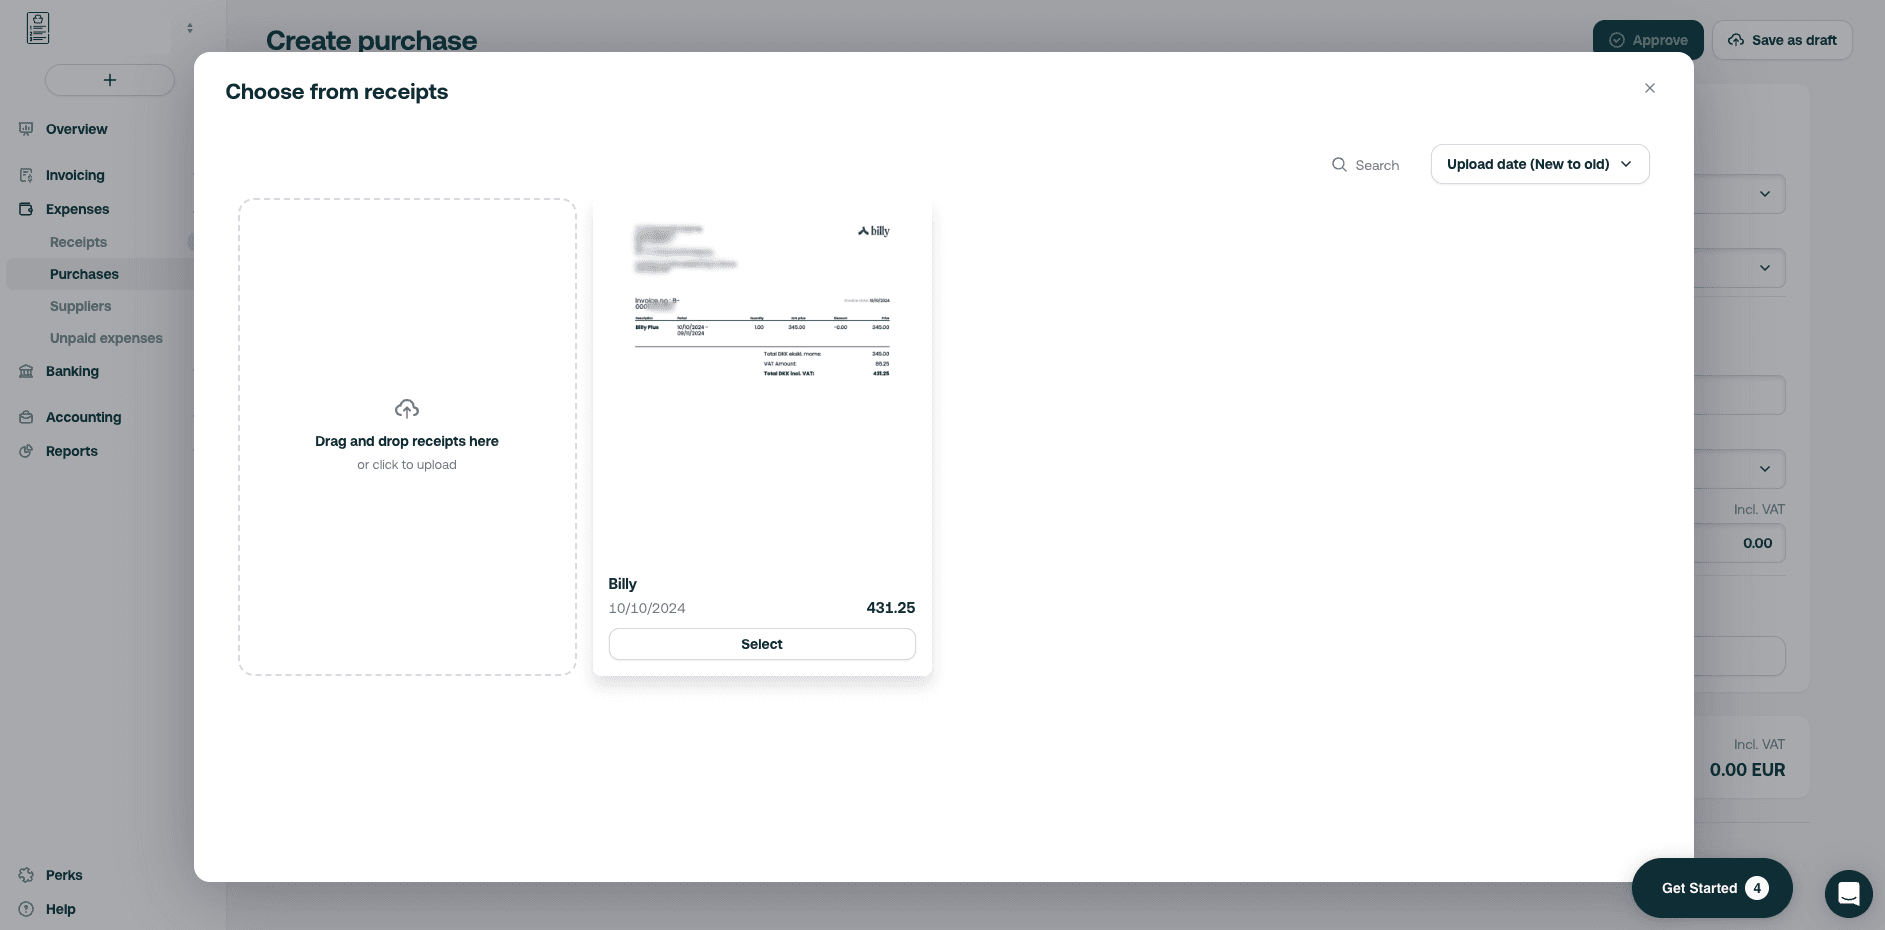
- Your uploaded attachment is now visible (some fields are automatically completed)
- Double check the fields and fill in manually any missing information